Did you know there are at least 10,000 GREAT reasons to invite toads into your yard and garden this summer?
 That’s right! According to the USDA, just one adult toad will eat 10,000 pesky insects in a single summer. Not only that, these efficient little assassins are super cute – and kids love ’em.
What’s not to love?
Fortunately, you can make them feel right at home without too much effort. You just need to provide a welcoming environment for them to settle in – and please NO lawn or garden pesticides or chemicals. Their skin absorbs that stuff way too easily, which may partially explain the dramatic worldwide decrease in amphibian populations seen in recent years. 🙁
To thrive, toads need shade from the hot summer sun, shelter from harsh elements and access to clean water. Today, we’ll focus on providing shade and shelter…
If you’ve ever walked into a garden store, chances are you’ve already seen some of the cute pre-made toad abodes that are out there. They come in a variety of materials, such as clay, resin, ceramic or terra cotta to name a few. The designs range from humble to whimsical to downright palatial.
Tip: When buying a garden toad house, don’t buy one with a floor. Toads prefer to nestle into the dirt, so no sense denying them that simple pleasure, right? 🙂
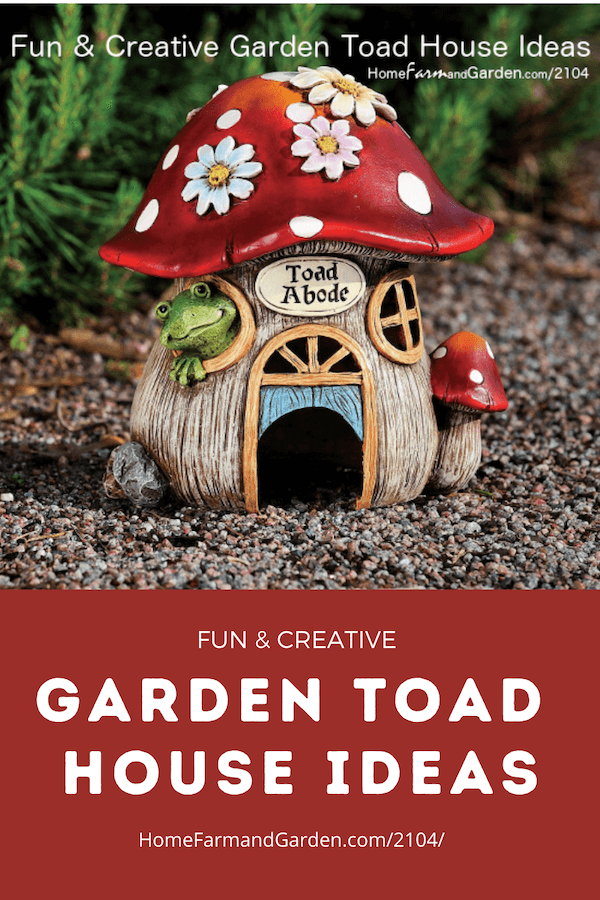
I don’t know about you, but I just love the cheerful toad abode pictured above – I think it will make a nice addition to a new garden area I’ll be installing in a few weeks.
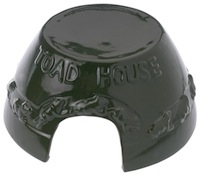
You might also enjoy this charming toad house or these more straightforward toad house designs. (affiliate links)
The super whimsical SPI Home Aluminum Toad House with Snail and Toad Figurine (pictured below) is another cool find that is sure to be a major conversation piece in your garden.
As you can see, there are lots of toad house options you can choose from to add a little character to your garden – and provide needed shelter for your insect-eating guests.
If none of the above designs appeal to you, you can always make some yourself by turning over small terra cotta pots and propping them up on one side with stones. Just make sure your set up is very sturdy so they don’t fall on your new friends as they come and go. For a fun weekend project, get the kids involved by painting the pots first (glow-in-the-dark or chalkboard paint might be fun) or adding other embellishments such as glass marbles to the outside.
Here’s to a great summer – with at least 10,000 fewer bugs than last year! 🙂


 4 Tips for Enhancing Your Outdoor Living Space